Elizabeth Taylor didn’t just wear eyeliner in Cleopatra — she made beauty history. Her dramatic Egyptian eyes, created by makeup artist Alberto de Rossi, helped launch the cat‑eye craze of the 1960s and remain one of the most copied makeup looks ever seen on screen.
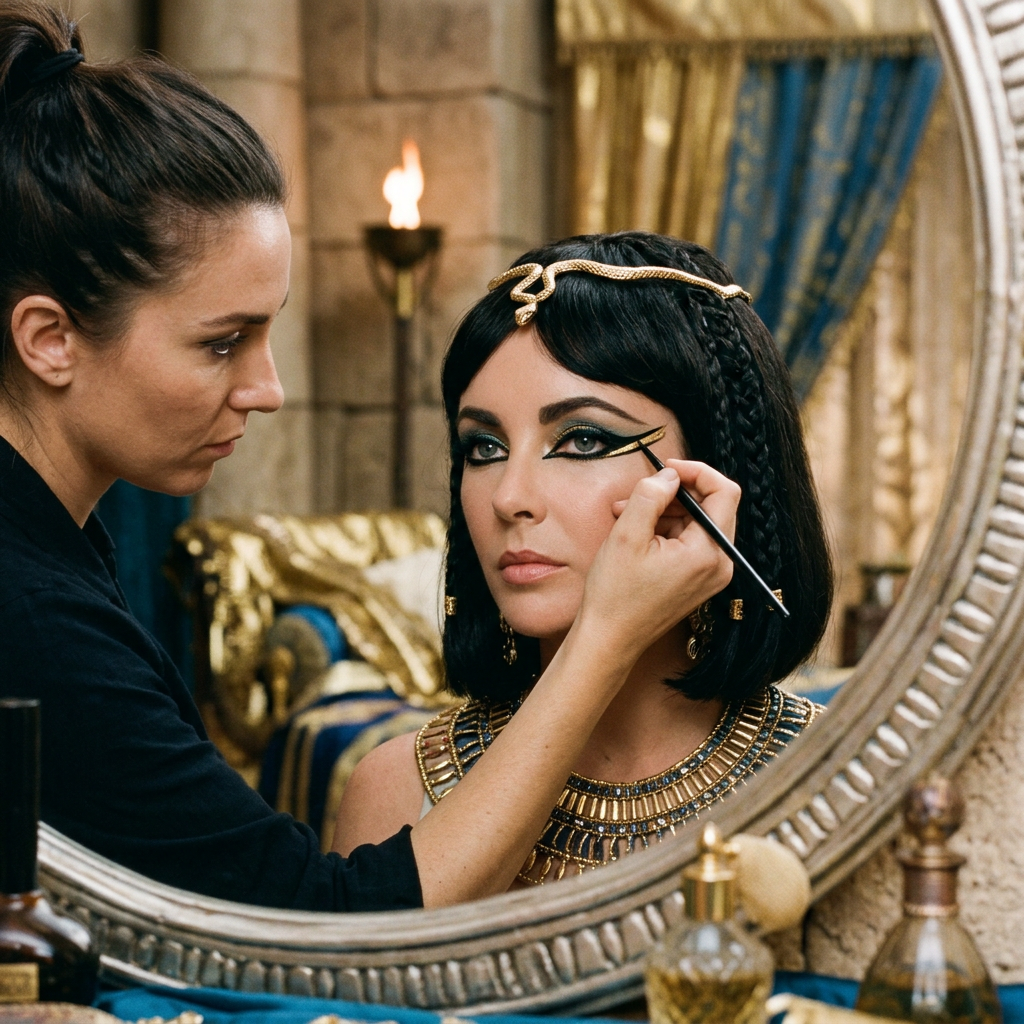
Here’s how to recreate the look at home.
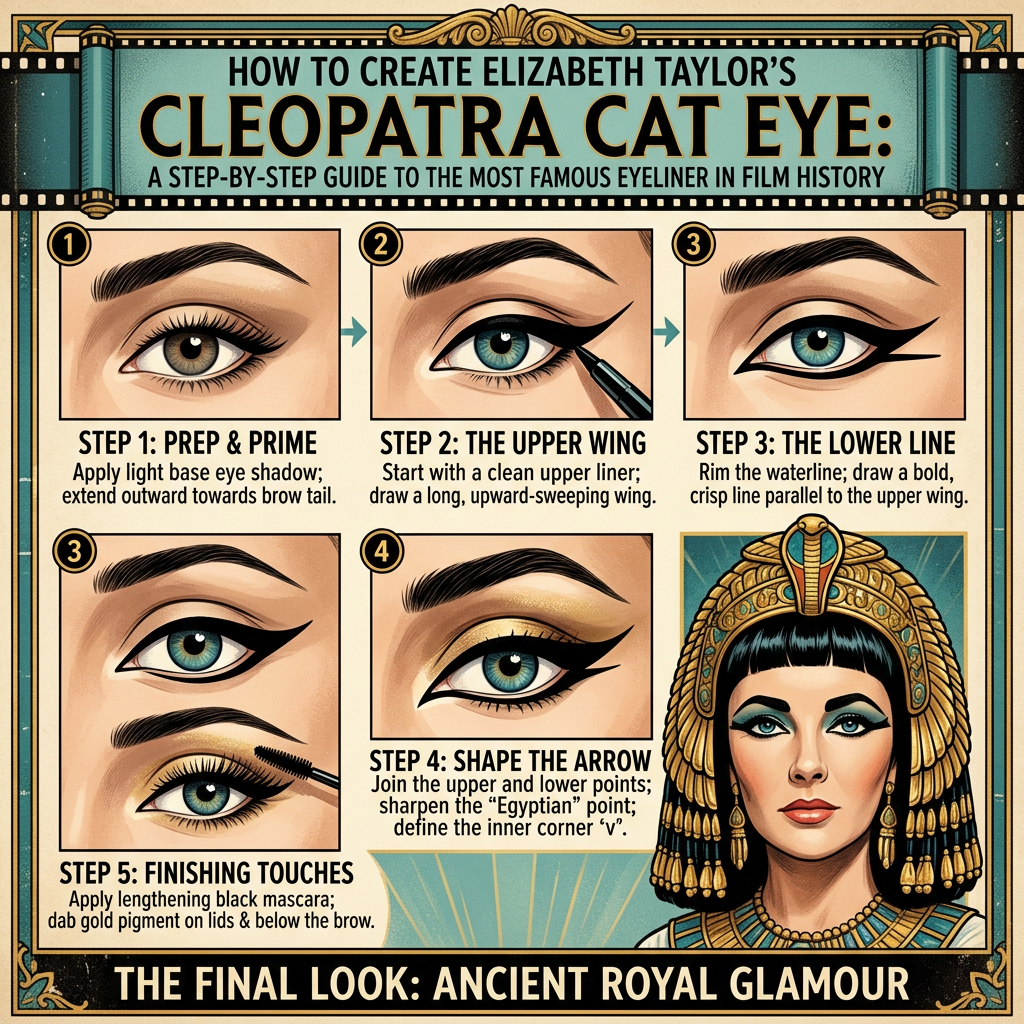
Step 1: Create a Smooth Canvas
Apply an eye primer or a light layer of concealer across the lid. Set lightly with powder to prevent creasing.
Step 2: Sketch the Upper Liner
Using a black gel or liquid liner, draw a line along the upper lash line.
Instead of stopping at the outer corner, extend the line upward toward the end of the eyebrow. Cleopatra’s liner should feel dramatic and architectural.
Step 3: Build the Wing
Thicken the outer third of the liner, gradually widening it as you move outward. The wing should look bold and regal, not delicate.
Step 4: Line the Lower Lash Line
Using black kohl pencil, line the entire lower lash line.
Extend the lower liner outward until it nearly meets the upper wing.
Step 5: Add the Floating Crease
This is the secret most tutorials miss.
Draw a second curved line above your crease, following the shape of the eye and extending it outward. This instantly creates the authentic Cleopatra effect.
Step 6: Add Egyptian Colour
Blend metallic gold, lapis blue, or emerald shadow between the lash line and floating crease.
Don’t be shy. Cleopatra never was.
Step 7: Define the Brows
Fill brows with a dark brown pencil, keeping them strong and structured. Cleopatra’s brows frame the entire look.
Step 8: Finish with Dramatic Lashes
Apply mascara generously and add false lashes or individual clusters to the outer corners.
Step 9: Channel Cleopatra
Lower the chin slightly, keep the neck long, and look directly ahead. The makeup is only half the magic.
The real Cleopatra effect comes from confidence.
Stacey’s Tip: For hooded eyes, place the floating crease slightly above your natural crease so it remains visible when your eyes are open. This preserves the dramatic Egyptian effect without losing the design in the fold.

