Before lash extensions, lash maps, and enough mascara launches to fill a department store, there was Audrey Hepburn and her famously fluttery, perfectly fanned lashes.
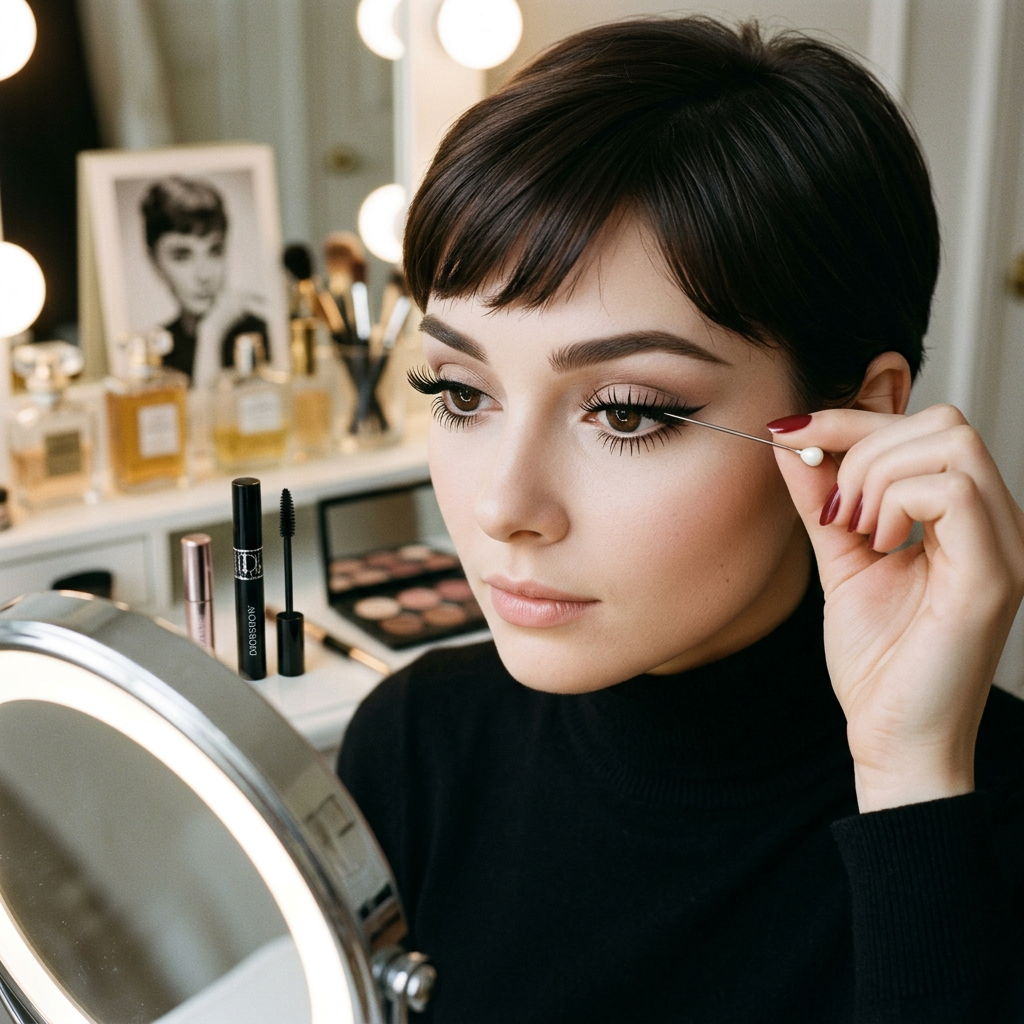
The secret? Separation, separation, and more separation.
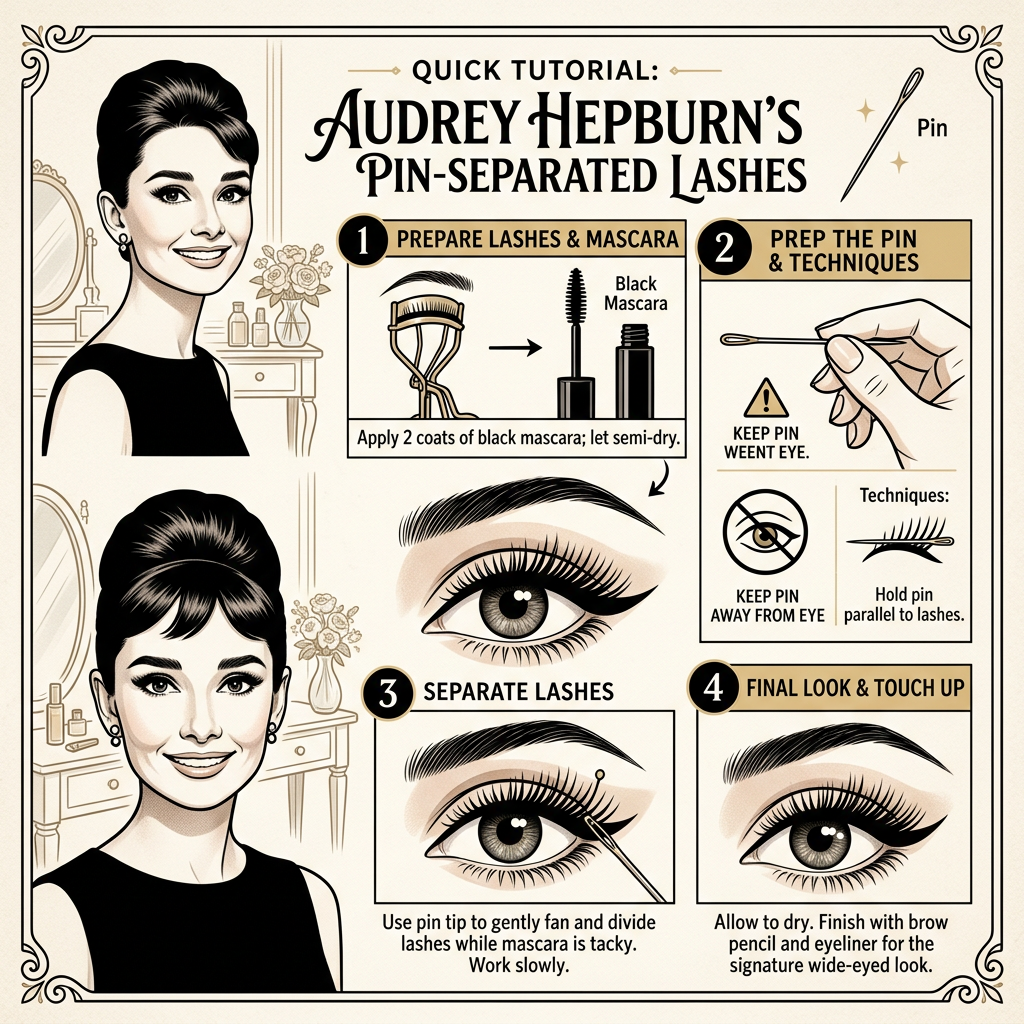
Step 1: Curl the Lashes
Start by curling your lashes to create lift and openness. Audrey’s eyes always looked bright and wide awake.
Step 2: Apply a Thin Coat of Mascara
Focus on definition rather than drama. Audrey wasn’t after chunky volume. She wanted soft, delicate lashes that framed her eyes.
Step 3: Add a Second Light Coat
Apply another thin layer while the mascara is still slightly tacky.
Step 4: Separate the Lashes
Audrey famously used a pin to separate individual lashes after mascara application. Today, a clean lash comb is a much safer alternative.
Gently comb through the lashes from root to tip, separating any clumps until the lashes look feathered and airy.
Step 5: Focus on the Outer Corners
Spend a little extra time separating the outer lashes. This helps create Audrey’s signature doe‑eyed effect.
Step 6: Keep the Bottom Lashes Defined
Apply a small amount of mascara to the lower lashes and separate them carefully for extra eye‑opening magic.
Step 7: Pull the Look Together
Pair your lashes with Audrey’s signature triangle liner and softly groomed brows.
Face by Stace Tip
Modern lash‑mapping techniques are chasing the very thing Audrey mastered decades ago: beautifully spaced, fluttery lashes that look individual rather than overly thick.
The goal isn’t bigger lashes.
It’s prettier lashes.
And trust Audrey, she knew the difference.

